For athletes who want to perform at their best it’s important to know how to ice injuries. To know is knowledge, but to do is discipline. When you’re younger or just starting to ice, it’s not fun. Actually it’s a little painful, but you will get used to it.
Most important is you have to remember how much faster your body heals when you ice.
5 great ways to use ice + a bonus
1) Ice packs: Great for isolated injuries, like the knee, lower back, shoulder or ankle. Make sure you wrap it for compression. 15-20 minutes
2) Ice bath: Best for when multiple areas are sore. I think of pre-season fitness days… 5-7 minutes
3) Ice massage: Isolated injuries (joints or contusions) when you don’t have time to put on a pack/wrap. 5 minutes
4) Compression ice sleeve: There are multiple different and effective ice sleeves that give you a 2 in 1 (ice and compress). 15-20 minutes
5) Cryotherapy: AKA Cryo… Is a dry chamber that you stand in that blows freezing air -148. 2 minutes
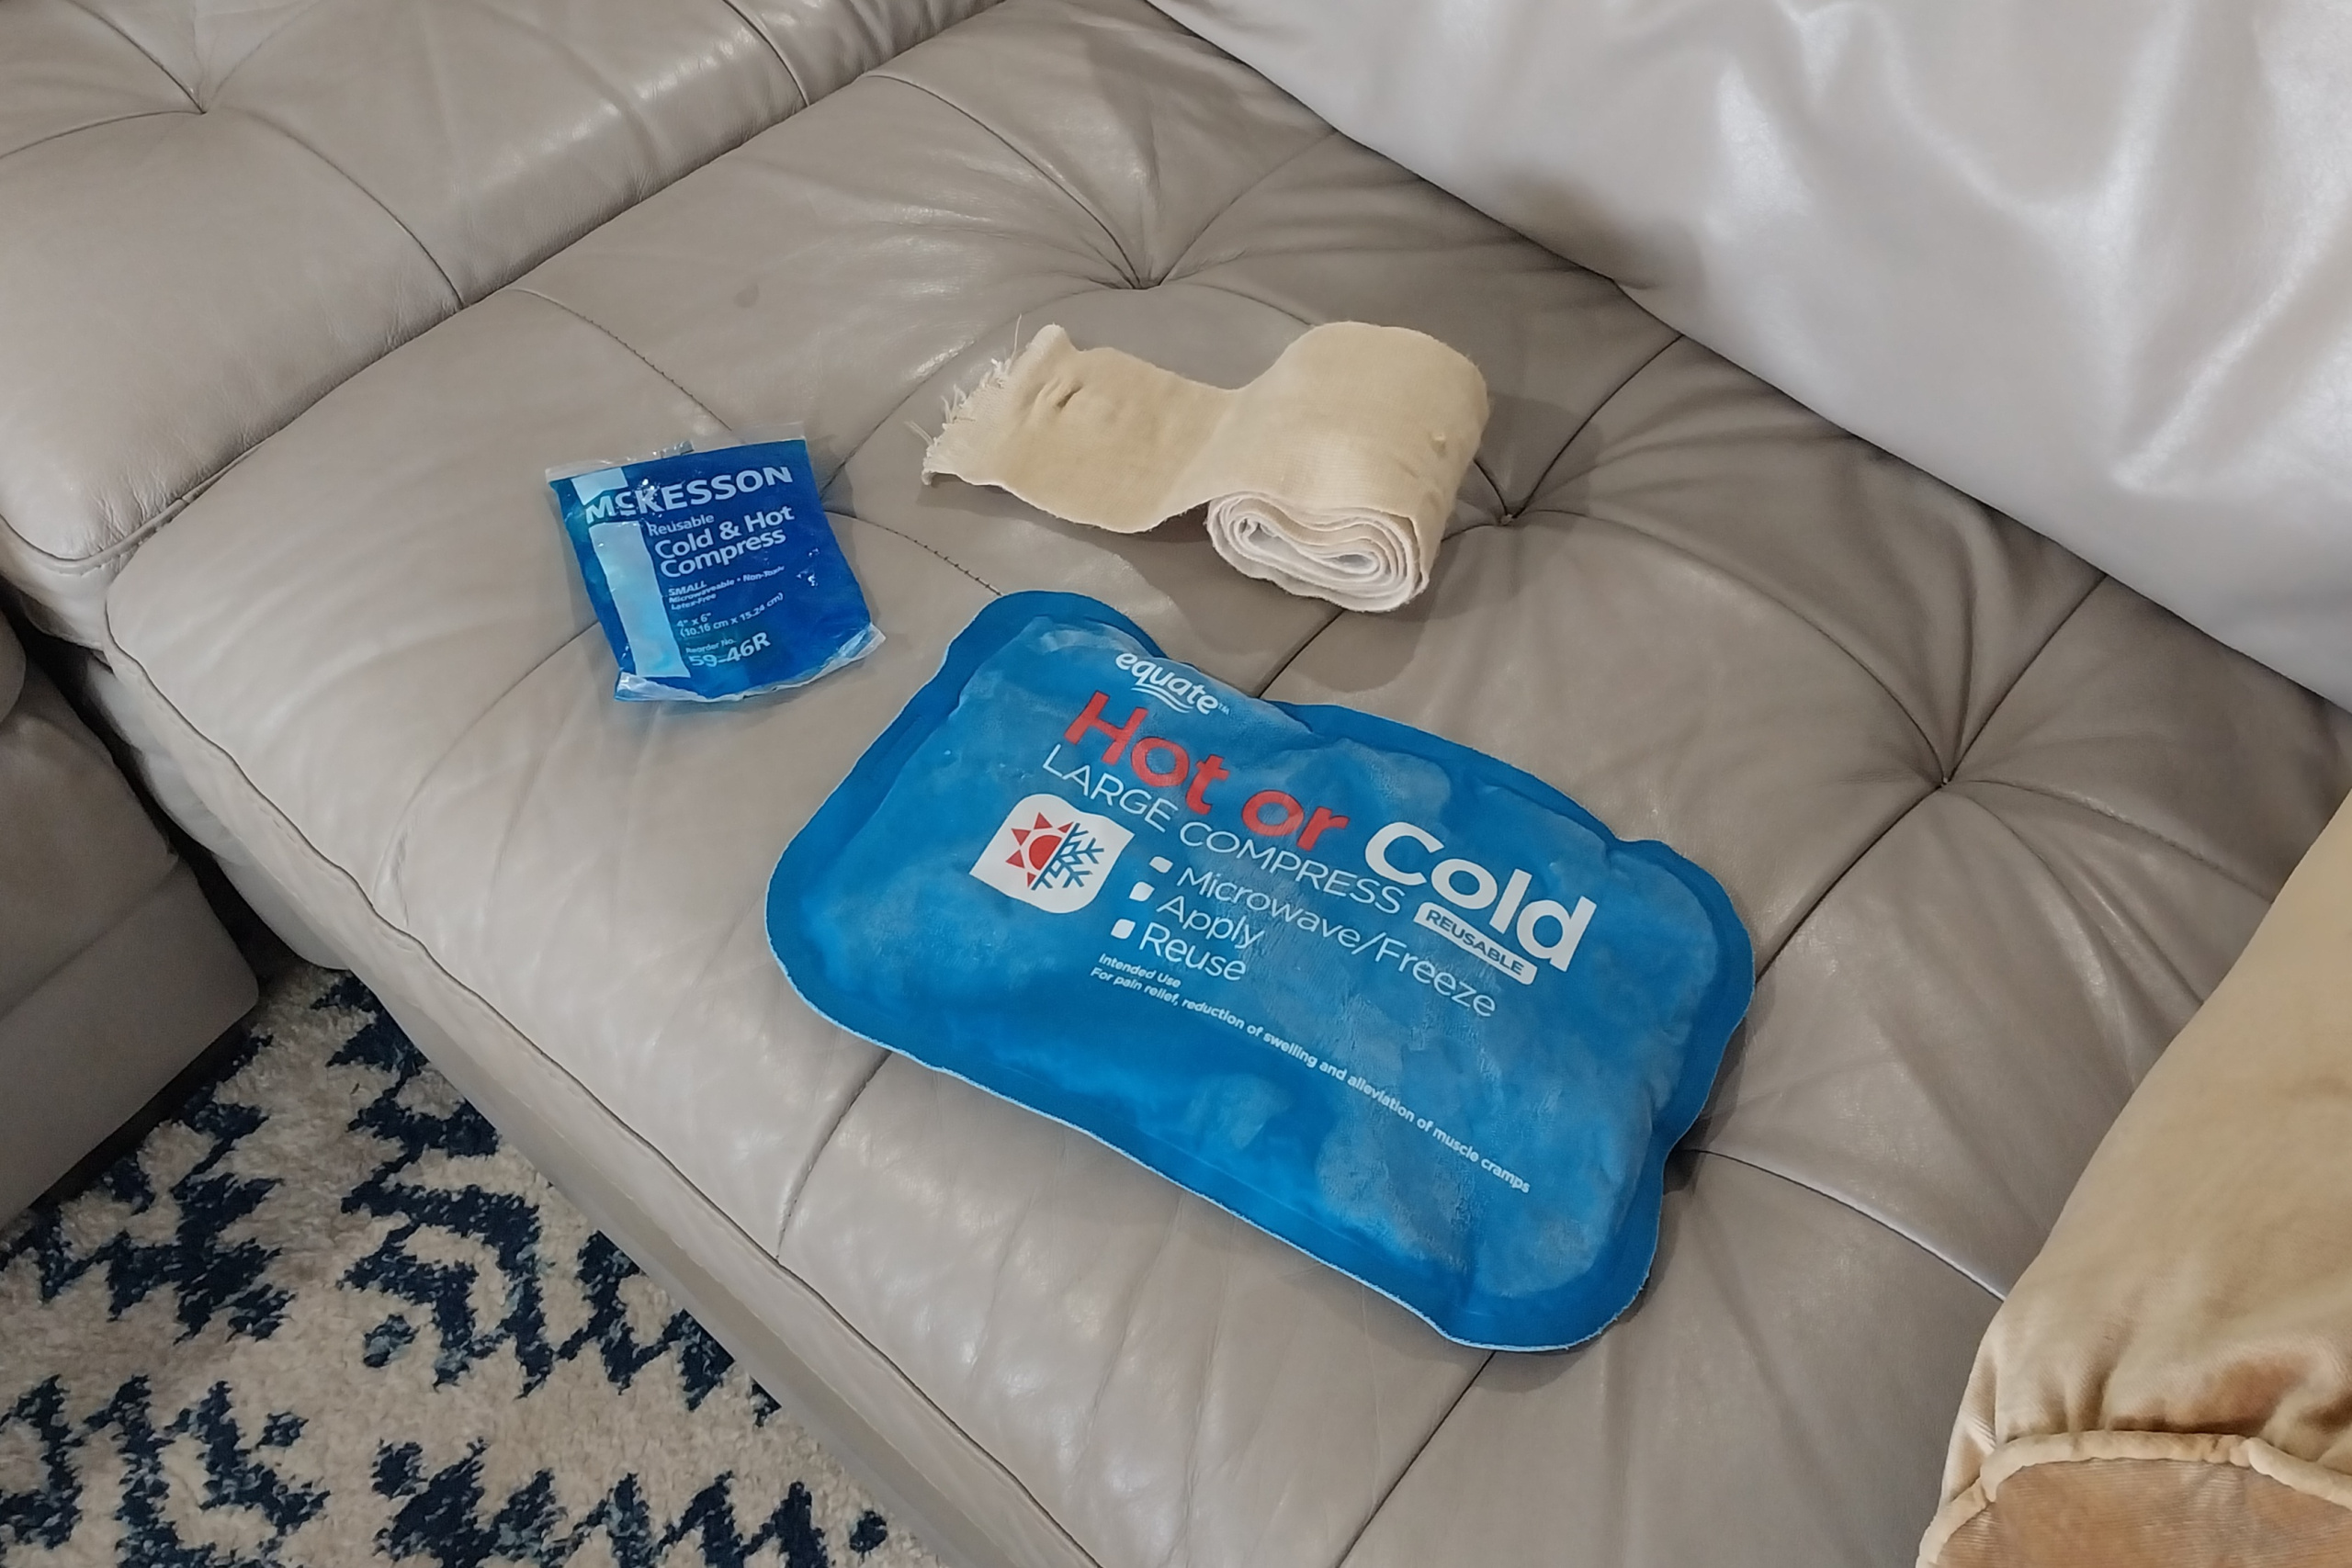
1) Ice packs
Best for isolated injuries that the pack can cover.
Don’t forget to wrap it, for compression and elevate above the heart.
There are different kinds of ice packs…
One of my favorite cold packs is this one because it doesn’t burn your skin or form ice crystals on the pack. The clear ones where you can see the blue gel are okay, but make sure you scrape the frost/crystals off before applying to your skin.
This 2 in 1 hot and cold pack is good to have for when you need heat before playing. FYI, the heat pads are great for putting on a sore area before practice/game. Example: Driving to practice apply for 5-10 minutes.
Personally for the cold, I like to apply the pack directly on my skin, not over cloth material… It doesn’t get cold enough putting something between the ice and your skin.
Remember to wrap it, for compression.
How long to ice
It depends on if it’s a pack or bath. Also, body parts.
For knee 10-20 minutes, depending on where the ice is. You have to be careful not to ice the outside of the knee.
Areas like the ankle, quad, hamstring, calf, back do 20 minutes.
Then there’s the RICE method, which some people have debunked, but in the meantime pro athletes still use it… The people who say you shouldn’t RICE probably weren’t high level athletes.
“To know is knowledge, but to do is discipline.”
2) Ice bath
Some people call this cold water immersion, but most people I know call it an ice bath.
Most college or pro training rooms have 2-3 troughs.
⇓ You can also use trash bins… Even top 5 club in the world, Bayern Munich uses bins. They use small steps to help climb in.
https://www.youtube.com/shorts/C8dDDY1VRvY
Time frame for ice bath: 5-7 minutes
This is best for when you have multiple sore areas… Example: knees and thighs or hips and low back.
I’ll never forget the first time I did an ice bath. It was in college during pre-season and I couldn’t believe how cold and painful it was.
Just the other day my 13 year old daughter came home from her first day of track practice. The day before she had a soccer game, so I told her to take a cold bath. Since it was her first one she just filled the tub with cold water, got in and her sister brought 3 trays of ice. It was a good first experience. Next time she’ll add more ice:)
“It takes sports maturity for youth athletes to ice.”
3) Ice massage
A great method for when you’re in a hurry. Obviously an area that you can reach, like the knee or ankle is when you’ll use this.
Take a paper cup, fill it with water and stick it in the freezer… Matter of fact, put 2 or 3 in there.
When you need to ice your knees, ankles or whatever is needed simply grab the cup, peel the top off and rub the ice over your injury for 5 minutes.
Make sure you put a small towel on the ground, under where you ice because it will drip.
When you are finished, put the ice cup back in the freezer for next time.
4) Compression freeze sleeves
Freeze sleeves like this are quick and easy…
This method is a 2 in 1 that is easy to use and helps your healing process.
Once you have it on, get the injured area above the heart to help with blood flow. Elevating an injured limb helps decrease swelling by promoting fluid drainage from the injury site.
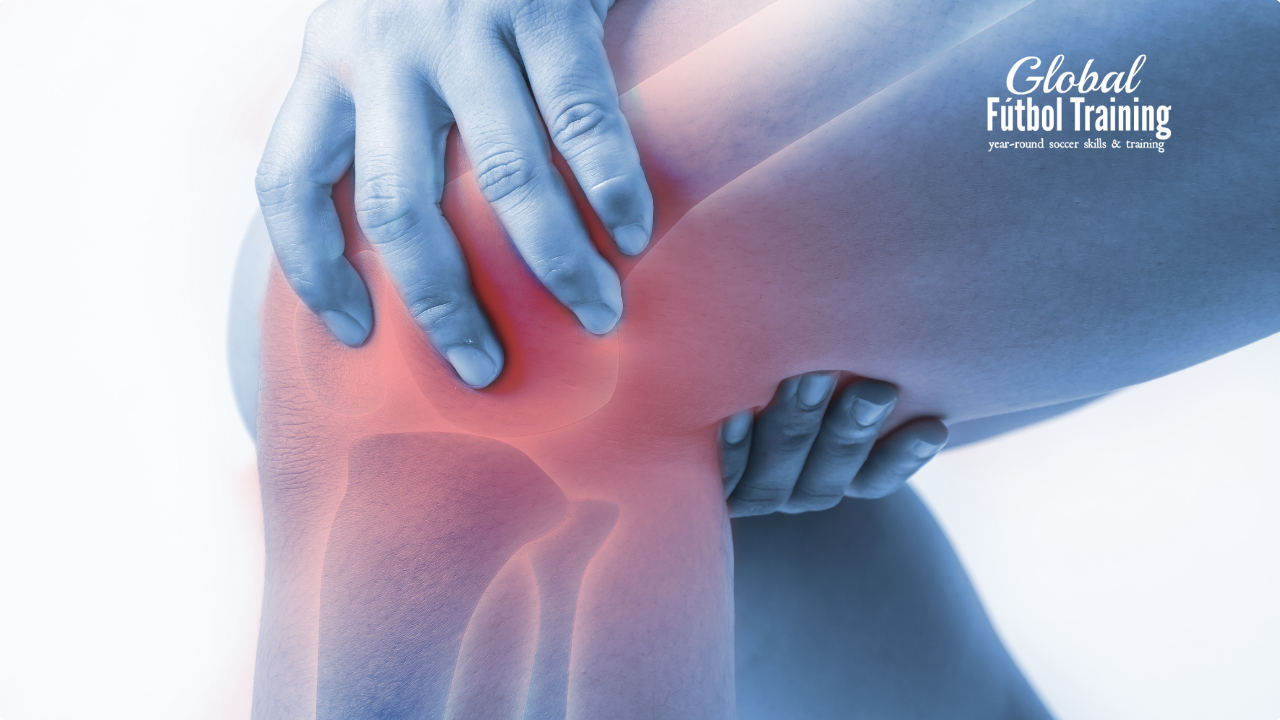
5) Cryotherapy
Is a chamber in which you stand in for about 2 minutes exposed to freezing cold air that is -148 F or lower.
People with arthritis often use cryo to reduce inflammation, but athletes have been using it also.
Cost: $25 – $100 per session depending on the location.
Studies show that this method is for some, but not everybody… We recommend you get council from a health professional before trying it. Learn more here
Bonus) Hot and cold method
Hot and cold is good for when multiple areas are sore… Usually when it’s both legs from the knees to the groin/hips or low back.
Pre-season type training is when you would want to use this method.
This is a unique icing method that gets the blood flowing and heals the body quick.
First you need a hot tub and a cold tub.
If you don’t have a actual hot tub, you can fill up the bathtub with hot water and then put a small portable cold tub next to it.
How to do Hot & Cold:
Once you have the two tubs side by side or close to each other do this…
- Start with Cold and stay in for 45 seconds
- Get in the Hot for 30 seconds
- Cold 45 seconds
- Hot 30 seconds
- Cold 45 seconds
- Hot 30 seconds
- Cold 45 seconds
Price range goes from $50 to $1,000+.
3 cold tubs to buy:
This very affordable one allows you to fill with hot or cold. Get 2 and you’re good to go.
Preventative therapy
If you are older, (high school or older) you should ice after games or hard practices. Whether coming off an injury or not…
This helps keep the inflammation away, which is very important. You stop any problems from forming.
Especially coming off surgeries or serious injuries… Knees, ankles & shins for example. These are areas that can swell up and cause pain.
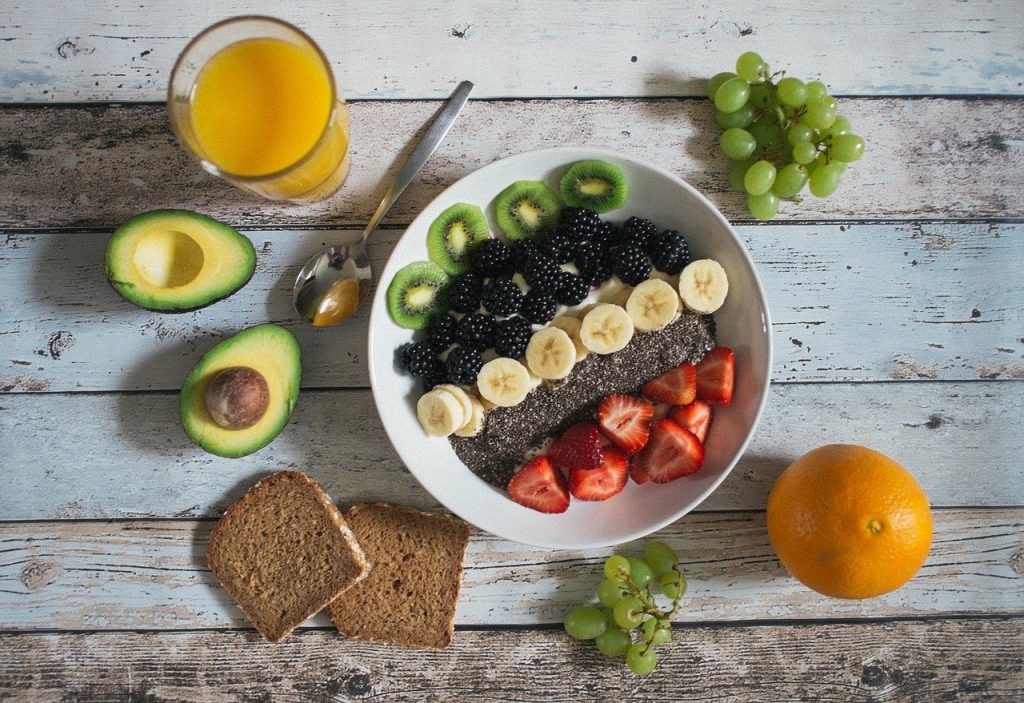
“Ice reduces inflammation, but so do certain foods.”
Foods that reduce inflammation
Remember, inflammation causes pain…
On top of all the ice and cold therapy, there are certain foods that help reduce inflammation.
10 foods that fight inflammation:
- Berries
- Almonds & walnuts
- Tomatoes
- Pineapple (not canned, get the real)
- Wild Salmon, not farm raised
- Spinach leaf
- Avocado
- Broccoli
- Peppers (green, yellow, orange, red)
- Turmeric
In addition, read this article eat like a pro will help you understand when and what to eat before and after games/training.

Most popular blog posts:
- How to strike the ball with more power
- Expert dribbling tips
- Strength exercises for soccer players
- First touch drills
- How to play more aggressive
Follow me on social media @GFTskills